
Here is an excellent informational write-up by Dave Meyers about damper removal and upgrade. These instructions and the "sweat and tears" advice will be helpful should you decide to replace those aging struts on your Elan! --Doug
If
you choose to change the stock configuration of your Elan, you do
so at your own risk! In short, if you damage your Elan or
endanger your life as a result of something you read here, it is
your responsibility. Please use common sense.
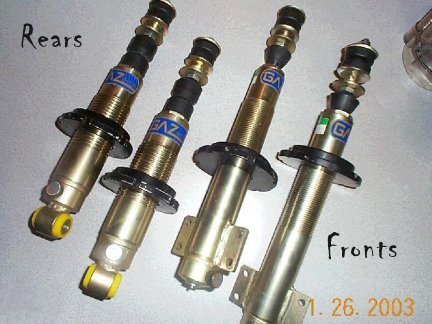 2
floor jacks, one for car/one for raising suspension during reassembly OR one
floor jack and 2 sets of jack stands
A- Put car on jack stands and remove all the wheels.
B- Coat all nuts/bolts with WD-40 or penetrating oil to assist with "trouble-free" removal.
C- Reference your Service Manual for proper Torque specs upon reinstallation.
Reference your Elan General Service Manual for the appropriate Front Suspension and Rear Suspension Chapters.
1- It's best to remove the fender liners. I don’t know what the removal is like with them in, but I have to imagine it makes things easier if they are not there. Two screws hold the front and two screws hold the back. There are also 10mm bolts with large washers around the inner edge.
2-
Make note of the shim locations with respect to the hub carrier mount on
upper suspension arms before you remove the two bolts (see #3).
For example, all the shims were toward the front of the car in my
vehicle. These are for caster suspension alignment.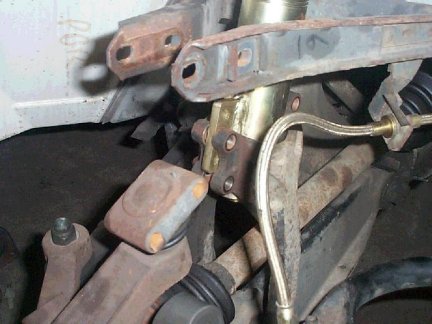
3- Remove the two bolts holding the hub carrier to the upper arms. 10mm nuts and 6mm allen bolts. These are removed to allow access and movement in order to remove the strut easier. Be sure to also note the orientation of the of the alignment spacer on the inner-most bolt (the square-shaped piece with the “C” cut into one side).
4- Remove the four bolts holding the lower portion of the strut to the 2 yolk pieces. 10mm nuts/6mm allen bolts.
5-
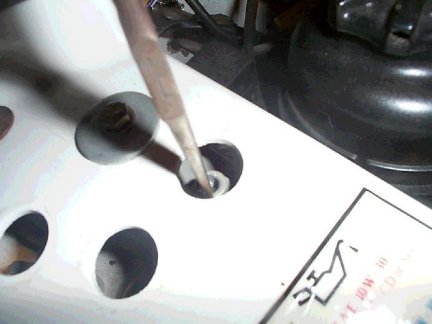 In
the engine compartment, remove the four rubber covers (with your fingernail) on
each strut tower to access the top strut nuts on each side.
Nuts are 13mm and you will need either a deep socket or a standard socket
with an extension. Use a set of needlenose pliers to remove/reinstall nuts on
top of the bolts. Don't remove the 14mm center nut yet!
6- (Method #1)To remove the strut unit, push the strut down into its mount where the four bolts were attached. Then push the suspension down to both remove the strut from the top mount and to gain some space. Pull out on the strut and the “Y” shaped lower strut yoke will move out, allowing the strut to slide up and out. Be sure to put a towel or something over the fender lip so it does not get scratched as you remove the strut.
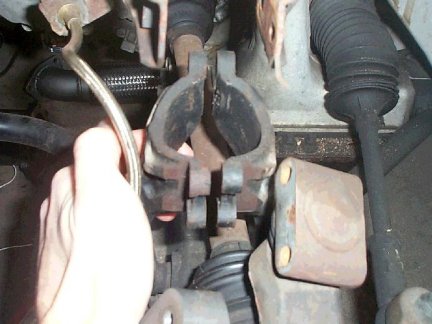
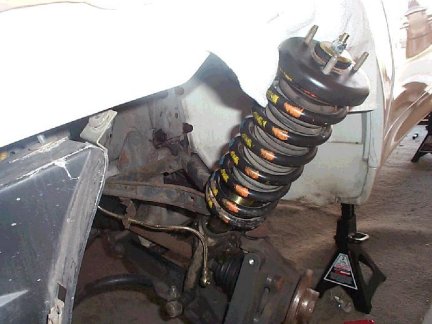
(Method #2) Undo the bottom
anti-roll bar joint stud bolt and remove. This
allows the suspension to fully drop. Then unbolt the 6mm yolk nuts
(secure 10mm nut on other side with a spanner)—remove the yolks and the front
strut unit will drop out with light wrestling. You do not need to do step 2
& 3 above for this method!
1- Disconnect the rear anti-roll bar from the lower suspension arm. 17mm nut.
2- Remove the lower strut bolt. 19mm nut and 19mm bolt.
3- Pull back the carpet covering the strut tops in the trunk.
4- Remove the three 13mm nuts holding the top of the strut. (may need deep socket) Do not remove the 14mm center nut yet.
5-
Slide the lower portion of the strut toward you; push down on the lower
wishbone to the bottom of its travel limit; ease the coil-over unit out.
1- Install spring compressors and follow all related instructions carefully. Compress the spring until you can move it in its seat.
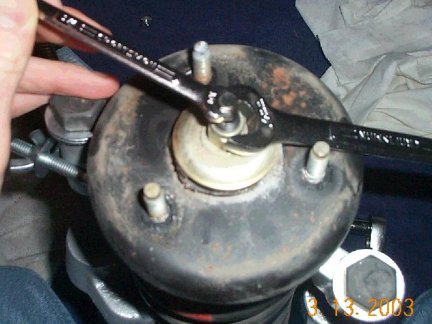
2- Hold the top of the strut post with a ¼” wrench (size?) while you remove the 14mm retaining nut.
3- Remove the bushings and top piece that holds the spring. CAREFULLY, note the order in which they are installed.
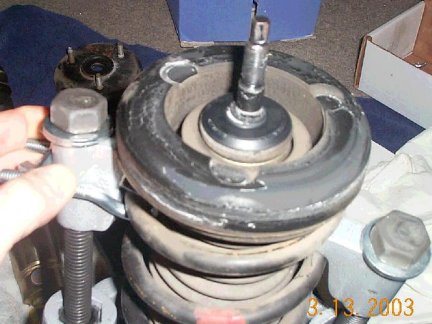
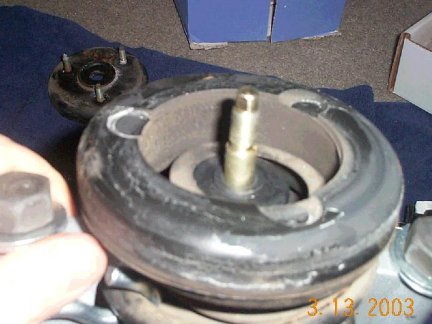
4-
Remove spring and plastic cover/gaiter.
Reinstallation = reverse the above instructions using the new struts and new bushings. Be sure all is carefully lined up as you release the spring compressor tension. Reference the Service Manual for nut & bolt torque specs.
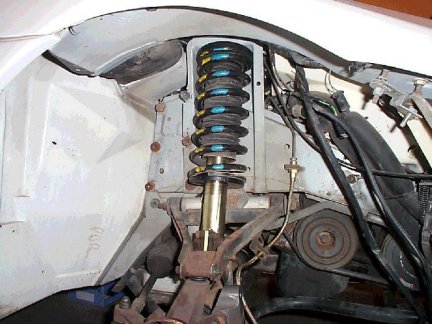
Please contact me for any other information at David R. Meyers.
Hints from Doug
and his experience with the same job:
*Caution: be sure the right rear anti-roll bar ball joint
won’t hit your muffler if you lower it enough.
This happened to Derrick and he had to have his muffler extended back a
few inches to gain proper clearance!
*Don’t install the 3mm hex grub screw on the spring seat
so it is facing exactly inward (as I did on one of my fronts) or you will not be
able to reach it to adjust it later (without removing the whole assembly).
I put the damper adjustment turn screws outward on the
rears and inward on the fronts so I could reach them more easily with my arm
without jacking up the car in the future.
I am only a novice with regard to suspension settings, but I will remind you 66% of Elan's weight is in front, so you will want your front damper settings higher than the rears.
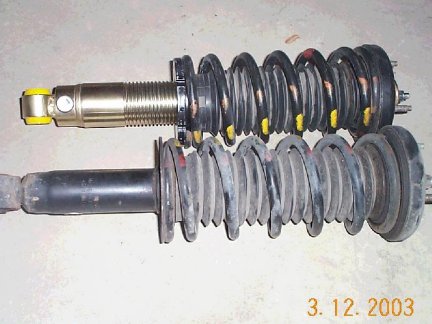 Doug’s
settings: I sized up the GAZ and found them to be different lengths than the
originals in their compressed and fully extended positions. I decided to
use the measurement: "from the bottom of the adjustable spring bottom seat
to the bottom bolt (rears) or top of the yolk (fronts)" as the reference
for setting ride height. I measured the original distances and then set the new
GAZ distance at : 1cm lower for
rears, and 2 cm lower for fronts. (PIC 1994
1997)
This meant the spring went back in under bit more preload even with these settings.
There was only a few millimeter (maybe half cm) drop in
ride height with these settings. Thus,
lower the spring base more to drop ride even lower.