 The
front suspension contains an Anti-Roll bar which keeps the front end from having
too much body roll. The ends of this torsion bar are connected to the
front of each Front Suspension.
The
front suspension contains an Anti-Roll bar which keeps the front end from having
too much body roll. The ends of this torsion bar are connected to the
front of each Front Suspension.
The picture at right shows a schematic of the front suspension.
These ball joints are stressed by everyday driving and, like all ball joints, are prone to failure from old-age and fatigue.
While installing my new exhaust system, I noticed one of my front anti-roll bar ball joints starting to come apart. Well it popped out while driving in the hills at the Elan Gathering and was banging on the front suspension occasionally. Luckily I had seen this problem starting to develop so I was not too surprised. I stopped the car, turned the wheel out to get a better view, and confirmed the joint had separated.
I called my local dealer, Platinum Motors, and was happy to hear they would send me a new ball joint right away. It came the next day: $105 !!
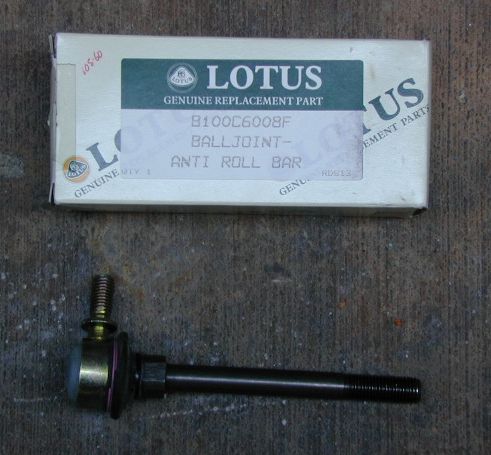 What's Needed
Essential Parts:
Possible Additional things:


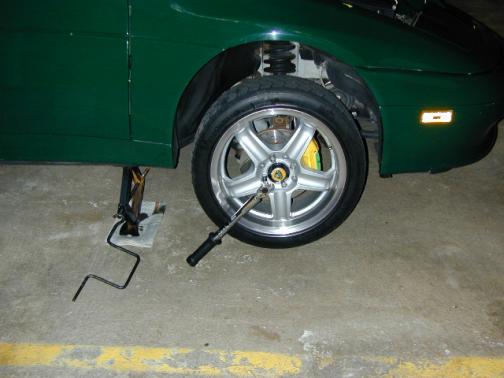 Replacing The Ball Joint
 Insert
the new ball joint from the front and it will push the screwdriver out the
back as it goes into place. You may need to jiggle the suspension to allow
the stud to pass into place more easily.
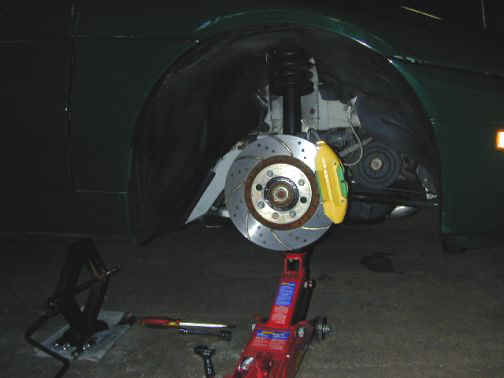 You can now lower the suspension and replace the wheel !
Send any more helpful hints to me and I will add them here. --Doug